Thursday 27 August 2015

Christmas Only Words Sneak Peak - Christmas Bauble

Crafter's Companion have really outdone themselves with the new set of dies they are launching this weekend. I have loved using them and now I get to give you a sneak peak. 

This is from the brand new collection being launched this weekend and it is the Die'Sire Christmas Only Words Prestige - Christmas Bauble.

I kept this card very simple because the die just does it all.


I cut the bauble out of burgundy card and put a light layer of gilding wax over the embossed areas. Not only did this die cut perfectly but it embossed beautifully as well. 

I put a strip of burgundy card on the back of the word so it would contrast and stand out and layered the rest of the bauble with red mirror card.

The backing card is gold which was embossed and layered onto red mirror card and the card base is burgundy card. I used gel glue to give the bauble some dimension and lift it off the card slightly.

A little ribbon and a gem finished it off. 

Angela Clerehugh
5½ x 5½ Card
Die’Sire Christmas Only Words Prestige Christmas Bauble
Embossalicious Merry Christmas Embossing Folder
Gilding Wax (Renaissance Gold)
Collall All Purpose Glue
Burgundy Card, Red Mirror Card
Gold Card, Gems, Ribbon

Friday 21 August 2015

Fancy Edge'ables - Doily Lattice with Aquatints

It's the weekend again and I think I may be able to fit in a little crafting time (fingers crossed).

This is a very quick post from me this weekend. I wanted to share with you my first attempt at using Aquatints.I really love the pastel shades that I manage to create with this card although it doesn't show up that well on this photo.


I am going to try this card again but using more vivid / darker colours - will let you know how it turns out. 

If you have the time then pop over to my tutorial page where I am going to look to start posting tutorials on some of the more unusual cards.


Thank you for popping over and hope you have a lovely weekend.


Ingredients used:


Fancy Edge’ables – Doily Lattice
14cm x 14cm Card
Centura Pearl snow white with hint of gold
Spectrum Noir Aquatints – Pretty Pastels (on Centura Pearl card)
Black card
Classiques only words die - Cherish
Itsy Bitsy Bloom Quilling Die
Sunflower small Quilling Die (highlighted with Spectrum Noir Pen FS6)
Stamen Quilling Die
Gems

Monday 17 August 2015

Tutorial - Diamond Fold Card with Die'Sire Edge'ables

I have had quite a few requests for tutorials so thought I would start posting one mid week. This will be my first but I have created an extra page called 'Tutorial Links' where you can see the card and click the link to take you to the relevant tutorial.

It would be fantastic to hear feedback from anyone who uses these tutorials and don't be afraid to let me know if something is not clear - it was obvious to me at the time of writing but I have probably missed a vital step somewhere along the line!

So here goes for my first one, 

Diamond Fold Tutorial using the Die'Sire Edge'ables
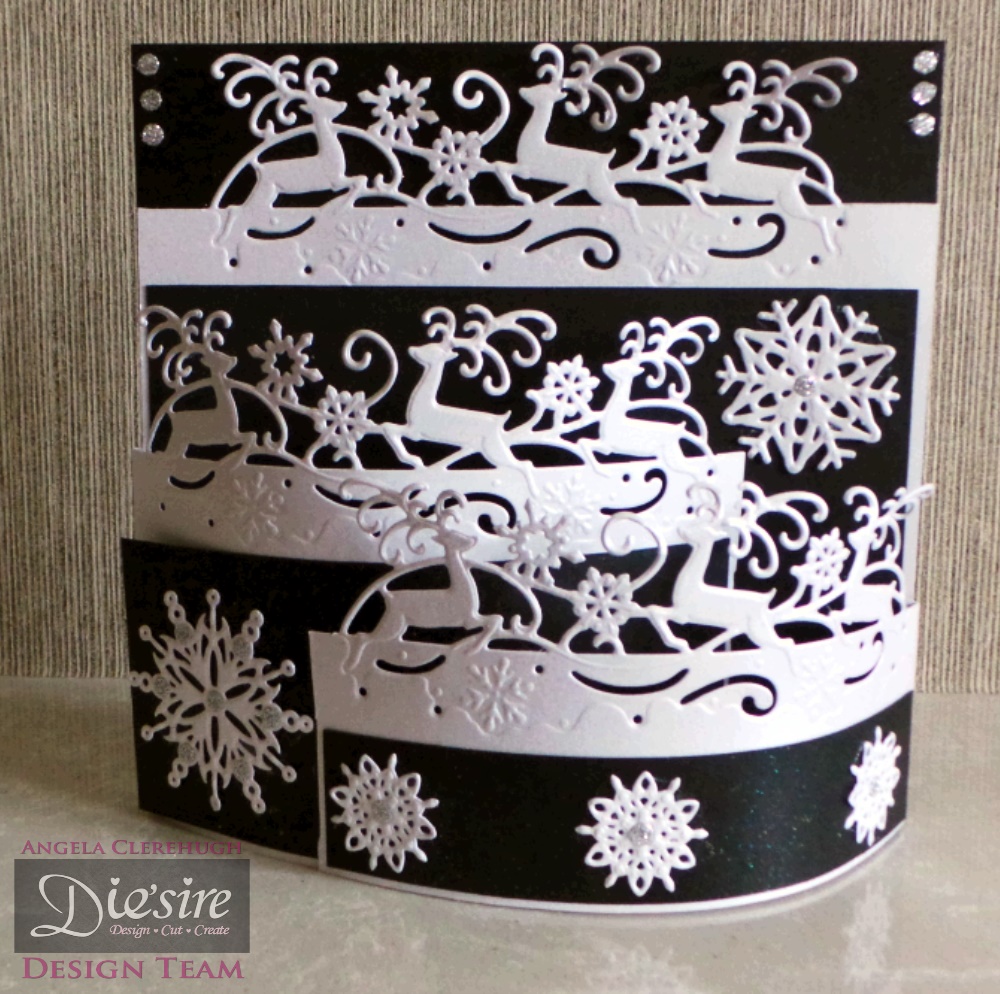
I have used the Floral Dance Edge'able for this tutorial but have used a few different types and can confirm that it works with the ones I have tried so far.

Items Used:
A4 piece of Centura Card (Snow white hint of gold used in this design)
Die’sire Edgeables Die – Floral Dance
Classiques 1” Alphabet Contemporary Die’s (upper and lower case)
Itsy Bitys Bloom Quilling Die
Sunflower Small Quilling Die
Stamen Quilling Die
Patterned card or paper to decorate
Candi
Spray & Shine
Collall Gel Glue

So that you can see the measurements and cuts more clearly I have used a felt tip pen for marking the card. When making your card please use a pencil so that the markings do not show up on the finished card.

Step 1
Take your A4 card and cut the longer length down to 27cm (10 5/8").


Step 2
With the non-sparkly side of your Centura Pearl facing you, along the 27cm (10 5/8") length of card measure and score at 4.5cm (1 5/8"),  9cm (3 9/16"), 18cm (7 1/16") and 22.5cm (8 7/8").


Step 3
Still with the non-sparkly side of your Centura Pearl facing you, fold one side in at the 9cm (3 9/16") score mark and then fold out at the 4.5cm (1 5/8") mark. Repeat at the other side and you should end up with a card that looks like this (use a Bone folder if needed to press the folds in firmly)


Step 4
Now you want the sparkly side of the card facing you with the folds underneath. This part will be a little tough because of the thickness of the card but take the top right corner of the card (leave the bottom piece) and fold towards the centre as follows (I have put lines on the card to show you which part is folded over.


Step 5
Repeat with all four corners


Step 6
Open out the card.  You are now going to push the four folds back in on themself (use a Bone folder if needed to press the folds firmly in place)


Step 7
Open the card out, take your Edge’able Die (this design works with any of the Edge’able die’s) and place it on the 9cm (3 9/16") line (with the larger flowers facing out towards the edge of the card. You also need to keep the die inside the ‘diamond’ fold lines as much as possible. The Die will go over the edges slightly but don’t worry about this.


Step 8
Run this through your Cut n Boss. Gently remove the die and repeat on the opposite side (on 18cm ((7 1/16")) fold with Die facing opposite way).


Step 9
Fold the card back into the diamond shape and fold all the flowers out. You may need to snip out one of the pieces holding the flowers at the top and bottom of the design just so the flowers are straight


Step 10
All that is left to do is decorate your card however you like. I sprayed Candi with Spray & Shine and fixed them onto the flowers using the Collall Gel Glue. For the sides I matted and layered a piece of card and a piece of patterned paper. Cut two pieces of coloured card measuring 4cm x 20.5 cm and two pieces of patterned paper measuring 3.5cm x 20cm. Cut out letters using the Alphabet Die’s (I used ‘For You’).Lastly, using the Sunflower small, Itsy Bitsy and Stamen Quilling Die’s I made a flower to stick in the centre of the card.


And here is another (just because I am addicted to this shape now):


Friday 14 August 2015

New - Sneak Peek of the Christmas Edge'ables - Reindeer Dance

It's rained all day today which would have made it the perfect day for crafting but I had to go to work! Not to worry, I have some free time this weekend and a few projects I want to try and finish.

I am so excited about the new Christmas Edge'able dies that are being released in a couple of days and the lovely Crafter's Companion Team have said the DT's can give you all a sneak peek.

This is a bendy card I made using the brand new Edge'able Die - Reindeer Dance. Once I got the measurements right it was a very simple card to put together. Although it doesn't show up very well the black card has been sprayed with Spray & Sparkle which did look lovely against the Centura Peal.


Here is the same die but this time I made a simple 6 x 6 card. I used holographic embossing powder on the reindeers so that they all sparkled - you may be able to see a hint of this on the top ones:


I hope you like the card and if you want to see more sneak peeks of the dies click here: Sneak Peek

Thank you so much for popping by and have a lovely weekend x


Items used to make first card (Bendy):
Die’Sire Christmas Edge’ables – Reindeer Dance
Centura Pearl Card
Black Card
Spray & Sparkle - Irridescent
Die’Sire Die - Snow is Falling
Silver Stickers
Crafters Companion Tape Pen
Collall Gel Glue

Items used to make second card (6 x 6):
Die’Sire Christmas Edge’ables – Reindeer Dance
Centura Pearl Card – White & Mink
Holographic Embossing Powder (Papermania)
Die’Sire Die -  Poinsettia
Rhinstone Crystal
Pearls
Crafters Companion Tape Pen
Collall Gel Glue

Friday 7 August 2015

Create A Card - Christmas Angel & My 100th Post

Wow, I cannot believe that this is my 100th post!

I have never tried Create a Card dies before now but I am so glad I got the opportunity. They were really easy to use and the one I am going to show you is my favourite.

This is the new Christmas Angel die and all I added was a glitter background, holographic embossing powder onto the angel (I don't think it shows up very well on the photo's) and a few embellishments.

Oh and I got to play with a brand new toy - the Easy Crystals. All the small gems you see on this card were applied with the Easy Crystal applicator and I love it. I only hope that they can bring out another one that takes larger gems. 


Hope you like the card and thank you for visiting - have a fabulous weekend x

Items Used:
Die’Sire Create A Card – Christmas Angel
Die’Sire Snow is Falling Die
Centura Pearl Card
Pink Glitter Card
Holographic Embossing Powder
Easy Crystals
Die’Sire Poinsettia Die
Rhinestone Gems

Saturday 1 August 2015

Texture Embossing Folders (5 x 7) - Leaf Vein

What a strange day weather wise, it really doesn't know whether to rain or be sunny and I cannot believe it's the 1st August and I am cold!

I really loved making this card using the new Textures Embossing Folder (5 x 7) called 'Leaf Vein.' I added a strip of ribbon, a quilled sunflower with gem and a sentiment. For the embossed panel I used Distressed Card which I lightly sanded. A coating of Spray & Shine to the flower and here's the finished card:


I have a few birthday cards to make this weekend so only a quick post from me today. Have a great weekend all x